Sugar Cookie Cutouts


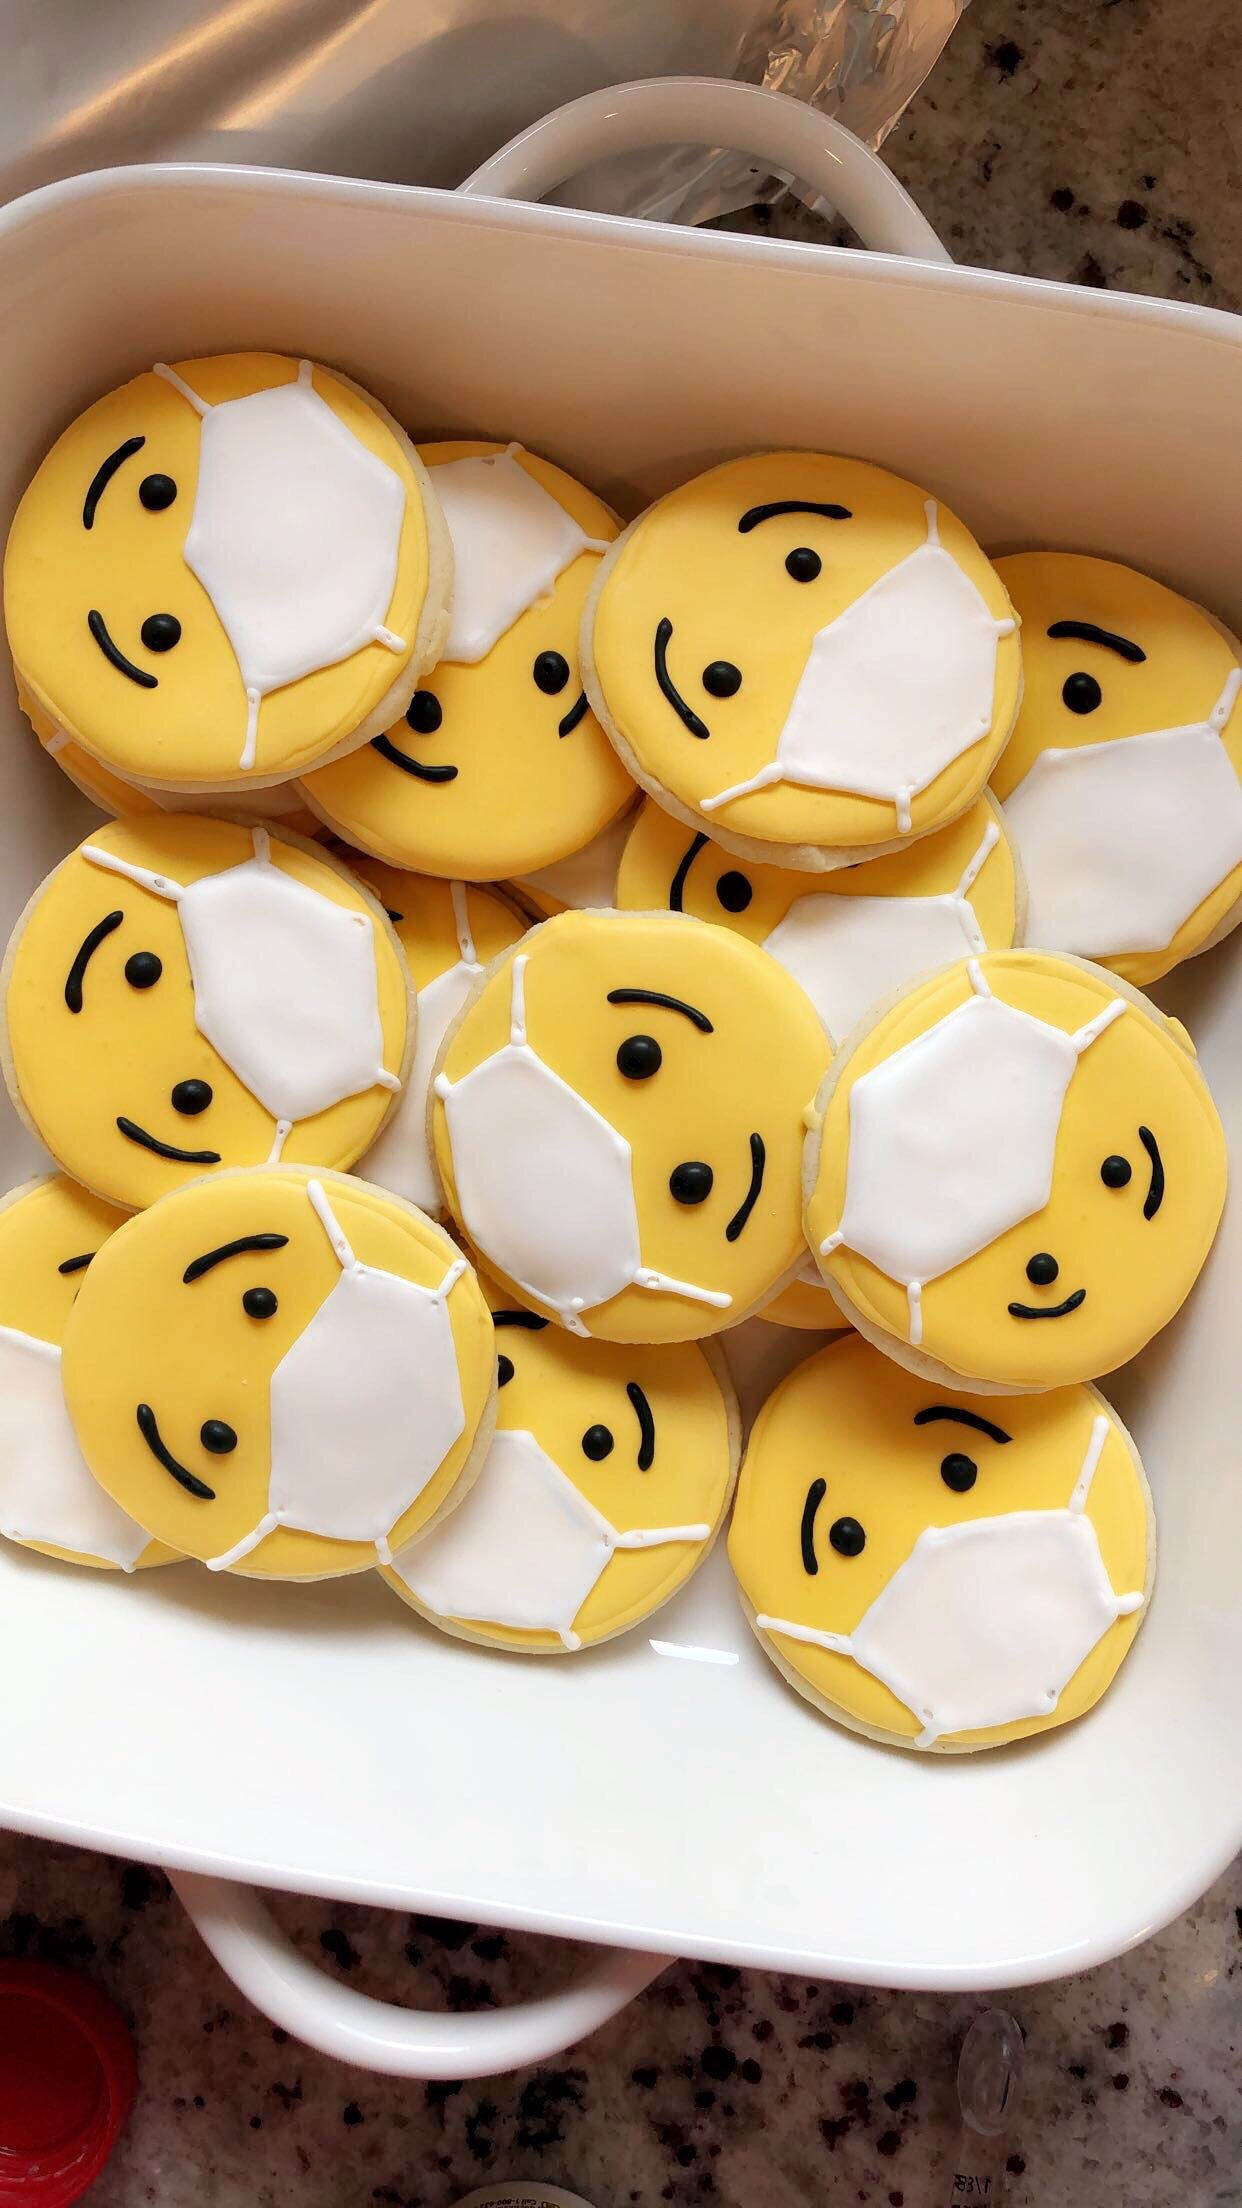
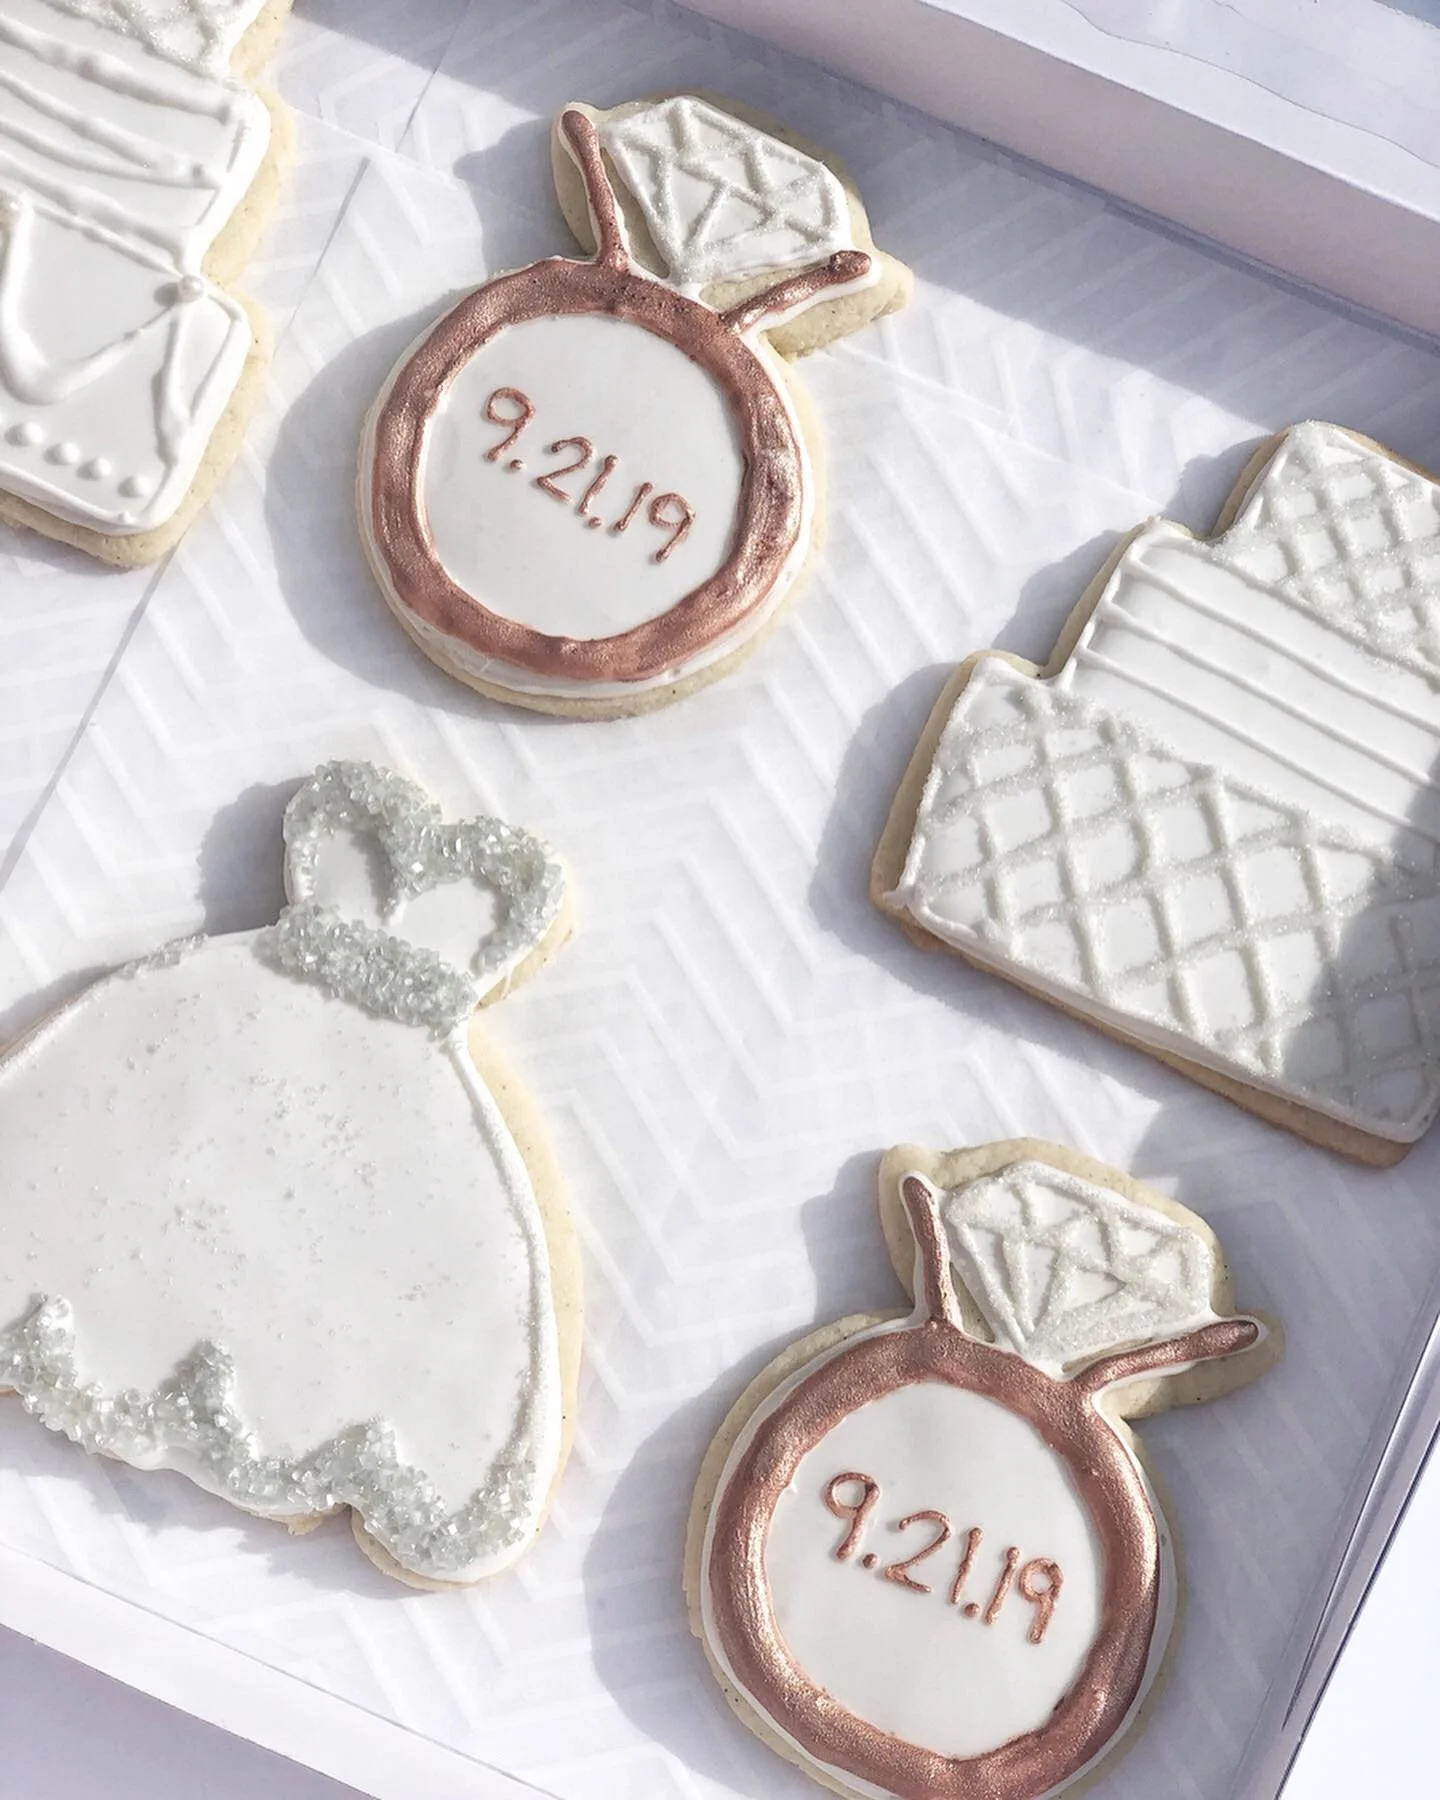
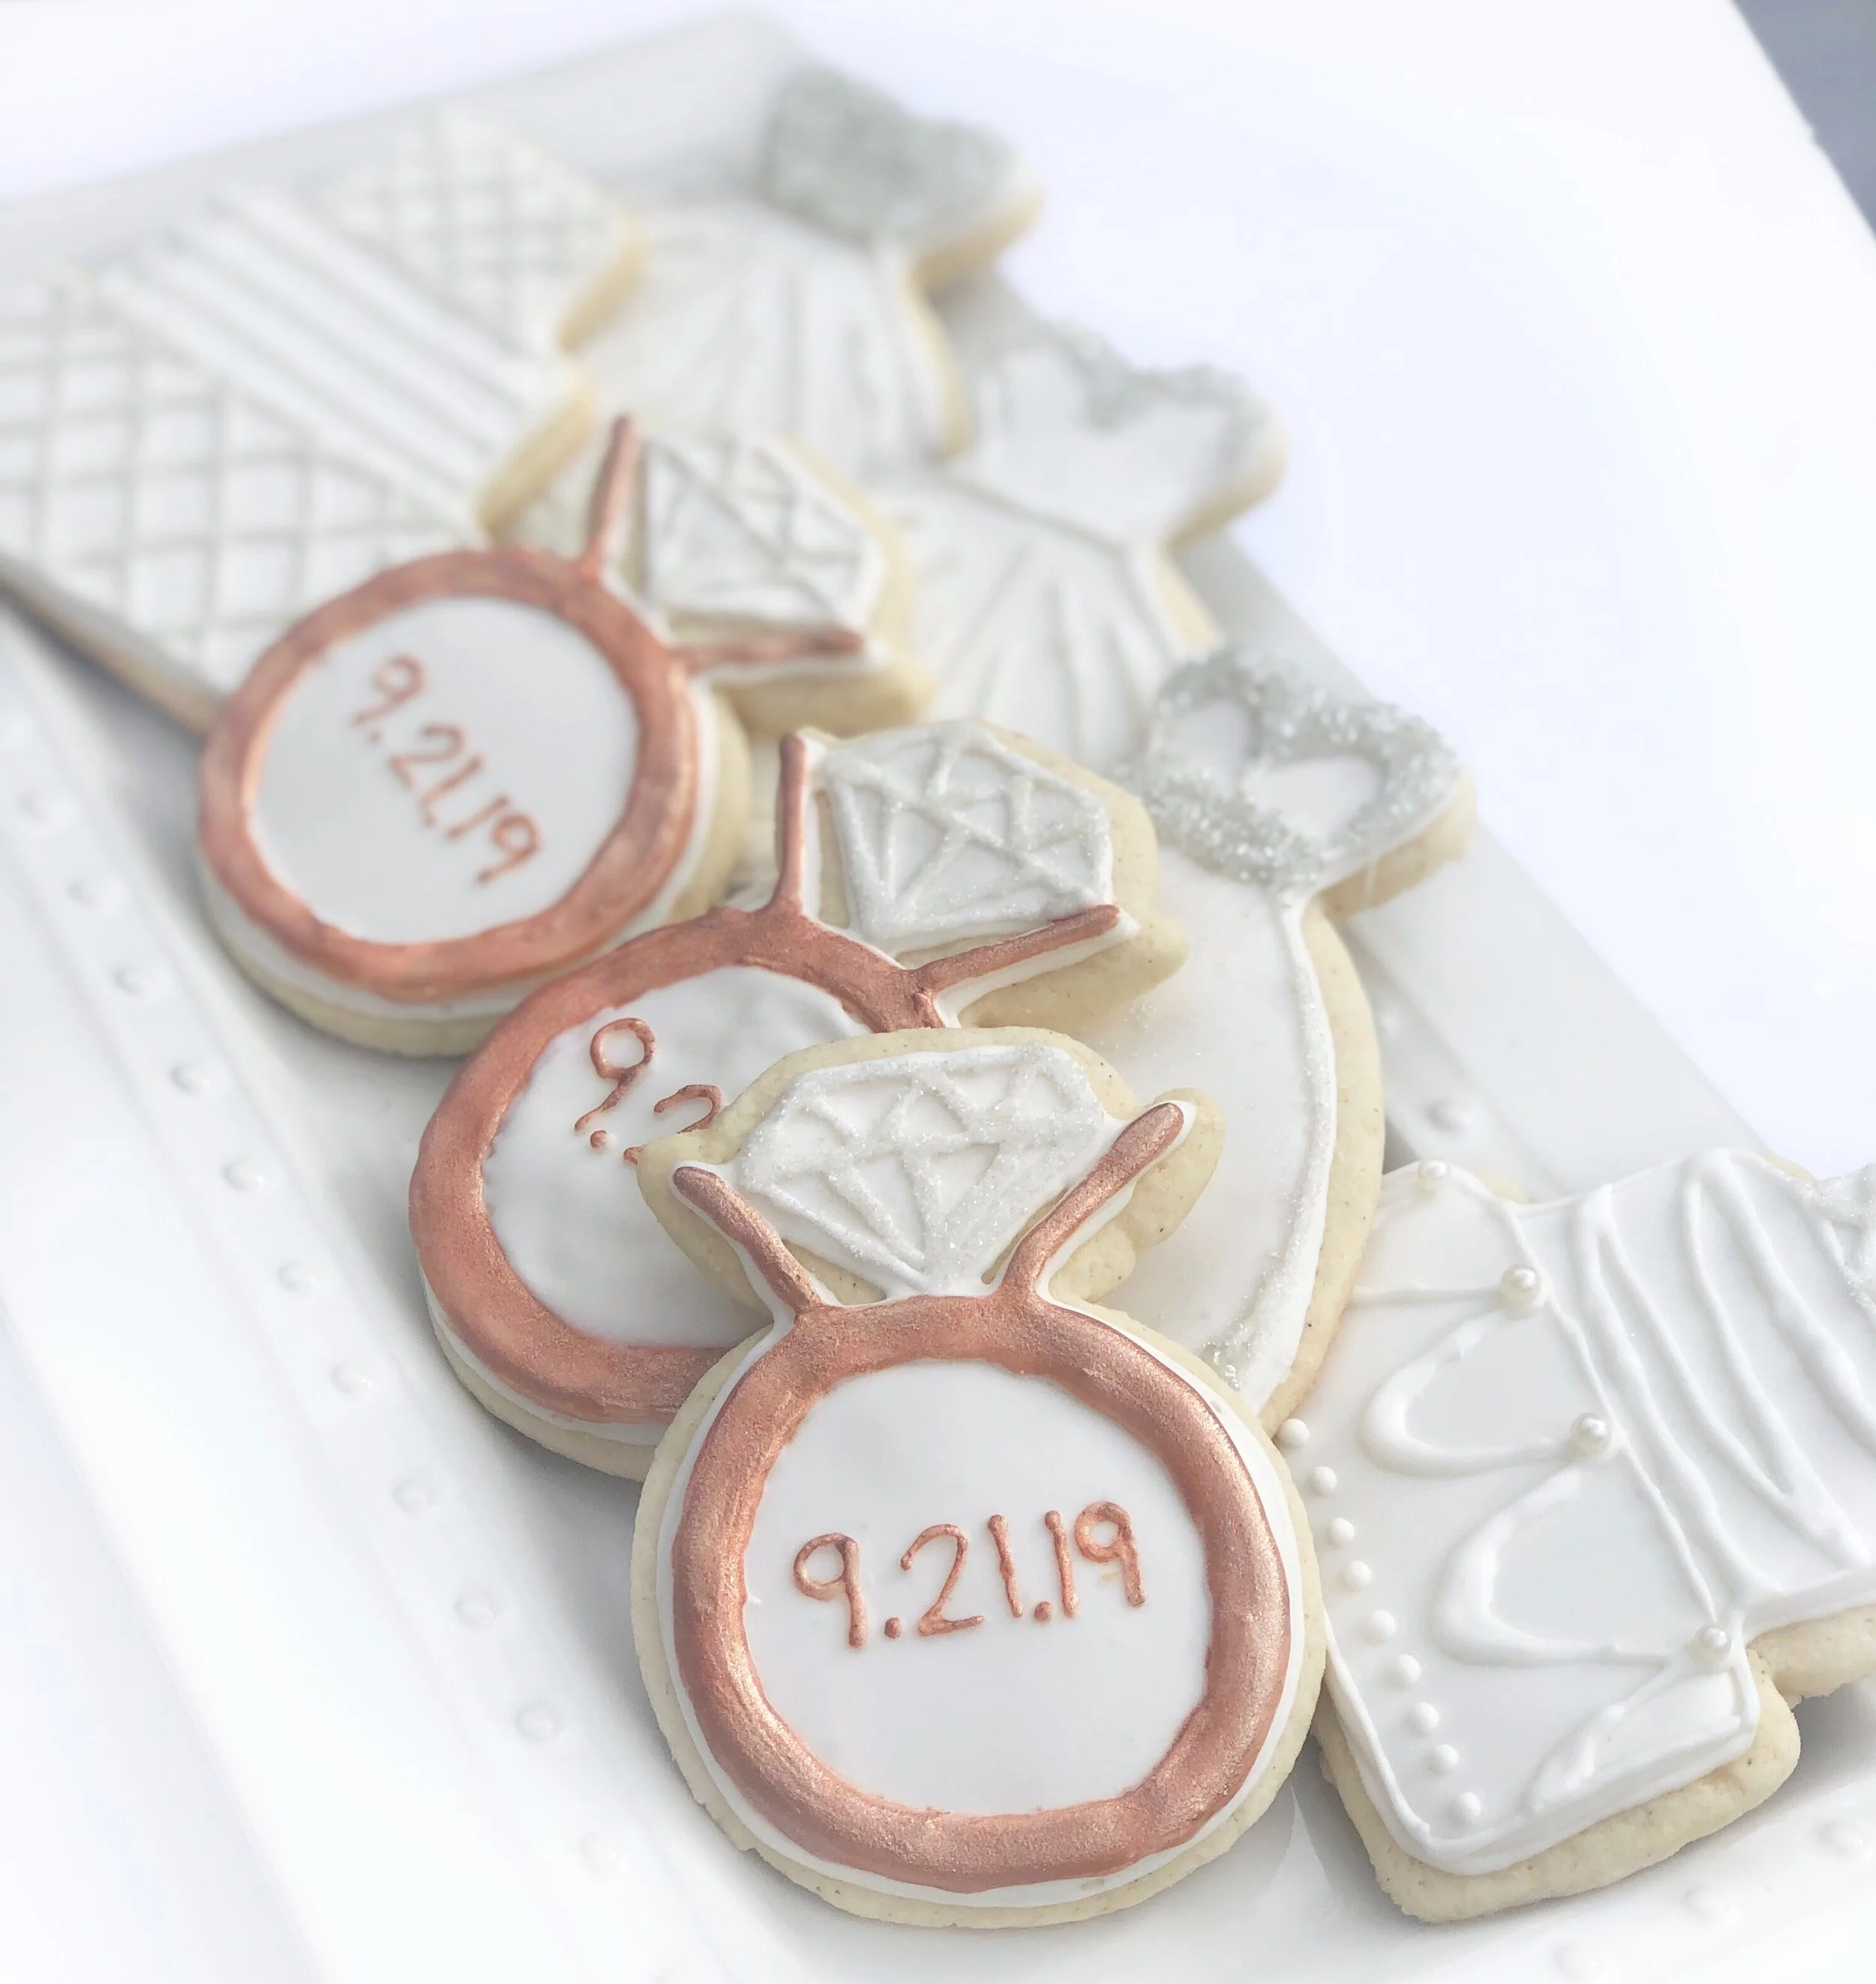
These gluten-free sugar cookies are so so yummy and easy to personalize for whatever the occasion. You certainly don't need to get fancy with the design and can frost them any way that you'd like. I think they are fun to make for personalized thank-you's, special themes, and holidays of course! Nobody can ever tell these are gluten-free when I serve them.
Cookie ingredients:
2 1/2-3 C Bob's Red Mill GF 1:1 Baking flour, plus extra for dusting your surface (you can try with any GF all purpose, just make sure the blend contains xanthan gum for best results)
3/4 C granulated sugar
3 T powdered sugar
2 eggs
3/4 C softened butter (1 1/2 sticks)*
2 tsp vanilla extract
1/4 tsp salt
1 tsp baking powder
Royal Icing ingredients:
4 C powdered sugar
6 T egg whites
1/4 tsp cream of tartar
1/4 tsp almond extract
Directions:
Preheat oven to 350 º F
Whisk together flour, powdered sugar, salt, baking powder
Use electric mixer to cream butter and sugar for 2 min on high. Then add eggs and vanilla
Slowly add in dry ingredient mixture until you have desired consistency- you want it to be sticky enough that it holds together but not so sticky that you can't roll it out *each GF flour is made differently so you may need to use more or less than what my recipe calls for if you're using a different flour than me-- you want the dough to hold together and not be too sticky to roll out
Use your hands to pull the dough together once well combined. I split my dough in half before rolling to have a more manageable size to work with
Roll half of your dough into a ball and place on floured parchment paper on a flat surface, sprinkle with more flour on top, cover dough with another piece of parchment paper and use a rolling pin to roll out your dough to be about 1/4" thick
Use cookie cutters to cut out shapes and transfer your cookie dough cutouts- I very carefully use a thin spatula to do this to keep their shape better) to a parchment lined baking sheet
Bake for 7-10 minutes (varies depending on your cookie thickness, size of shapes, and oven) until edges start to look just slightly golden; do not wait until the edges become brown, they will be crispy
Transfer to cooling rack immediately and repeat steps with the remaining dough
Once cookies are completely cooled, make your royal icing (if using)
Use electric or stand mixer to beat the egg whites with cream of tartar until foamy
Add in almond extract and mix until combined, then add 1 C of powdered sugar, mix until combined
Mix in the rest of the powdered sugar by the 1/2 C. If your icing is too thick, add water by the teaspoon to help thin, and if too thin add powdered sugar by the tablespoon
I divided my royal icing to mix with food coloring to design these cookies! Place required amount of icing in a ziplock bag and cut a very small hole in the bottom and use to pipe the edges of the cookies
Let set for a minute or two and then press harder with your bag of icing to "flood" inside the piped lines, use a toothpick or even butter knife (this is what I did) to spread to the edges
Let the cookies set for about an hour or two before storing. Icing should become hard and dry to the touch (if you are doing different layers of design, make sure that your icing completely gardens before adding another layer otherwise it will bleed. I know this is a time consuming labor of love, but they are so worth it!)
Notes:
*sub butter for vegan butter for a dairy-free option
Please tag me on instagram @celiacsweetie if you make this, or comment on this blog-- I would love to see your recreations! Also please reach out if you have any questions about the recipe.
xo, Celiac Sweetie