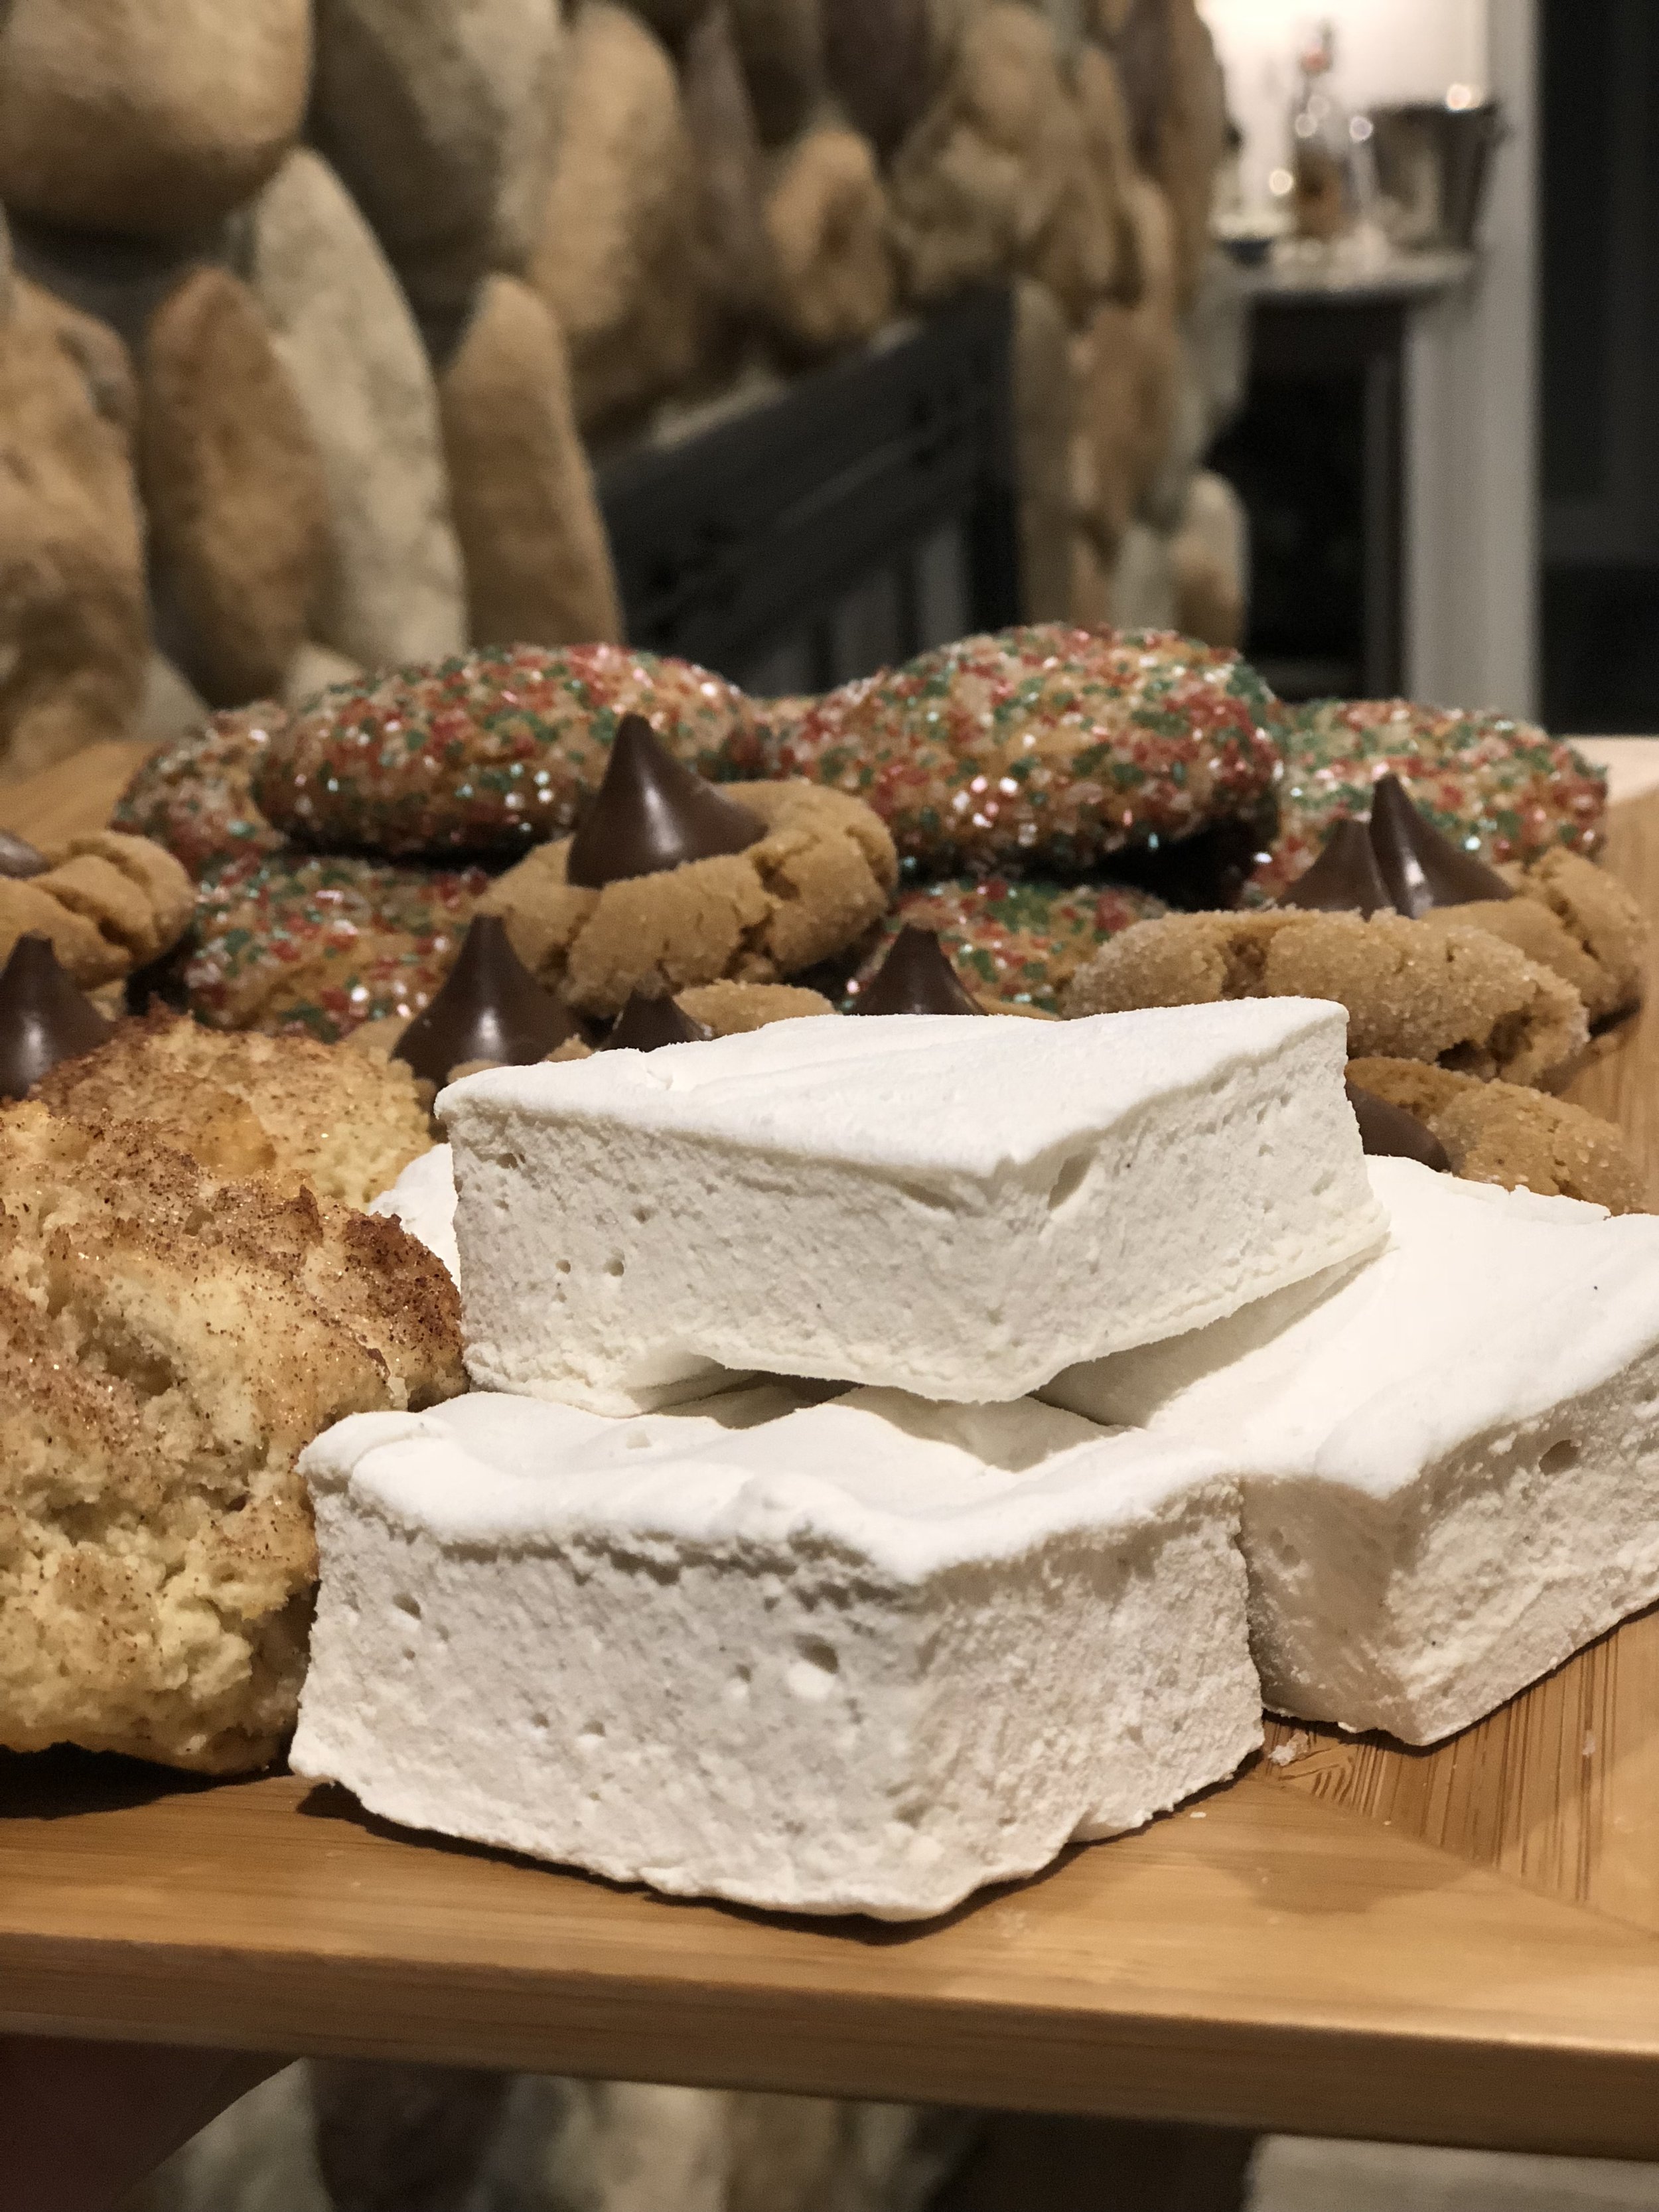
Homemade Marshmallows
Dairy free and refined sugar free as well as gluten free (always)! So yummy and not as difficult as they seem. Adapted this recipe from Danielle Walker’s version on her blog.

First… the 2 things that I recommend you have to make these:
Stand mixer (because you have to beat the mixture for about 10 minutes)
Candy thermometer (very inexpensive and worth the $- I found mine at Hobby Lobby for under $10)
*and read entire recipe through before starting
Ingredients:
3 T gelatin
1/2 C honey (use light colored to keep them white)
1/2 C light agave nectar *or sub maple syrup
1 C water
1 tsp vanilla extract or vanilla bean paste
1/4 C or so of arrowroot powder or powdered sugar (this is for coating. I used arrowroot to keep them refined-SF, but feel free to swap for powdered sugar it’s just to keep them from sticking to each other!)
Directions:
Line 9×11″ baking pan with parchment paper and sprinkle with arrowroot or powdered sugar for when the marshmallow mixture is ready
Pour 1/2 of the water into your stand mixer and sprinkle gelatin on top and allow to bloom while you complete the next steps
Pour remaining 1/2 of water into a pot with honey and agave/maple syrup and bring to a boil over medium-high heat, stirring occasionally
Let boil until candy thermometer reaches 240 º F. Turn heat off and start stand mixer on low speed with the bloomed gelatin, using the whisk attachment
Slowly pour the honey mixture down the side of the stand mixer bowl with the mixer still running on low speed
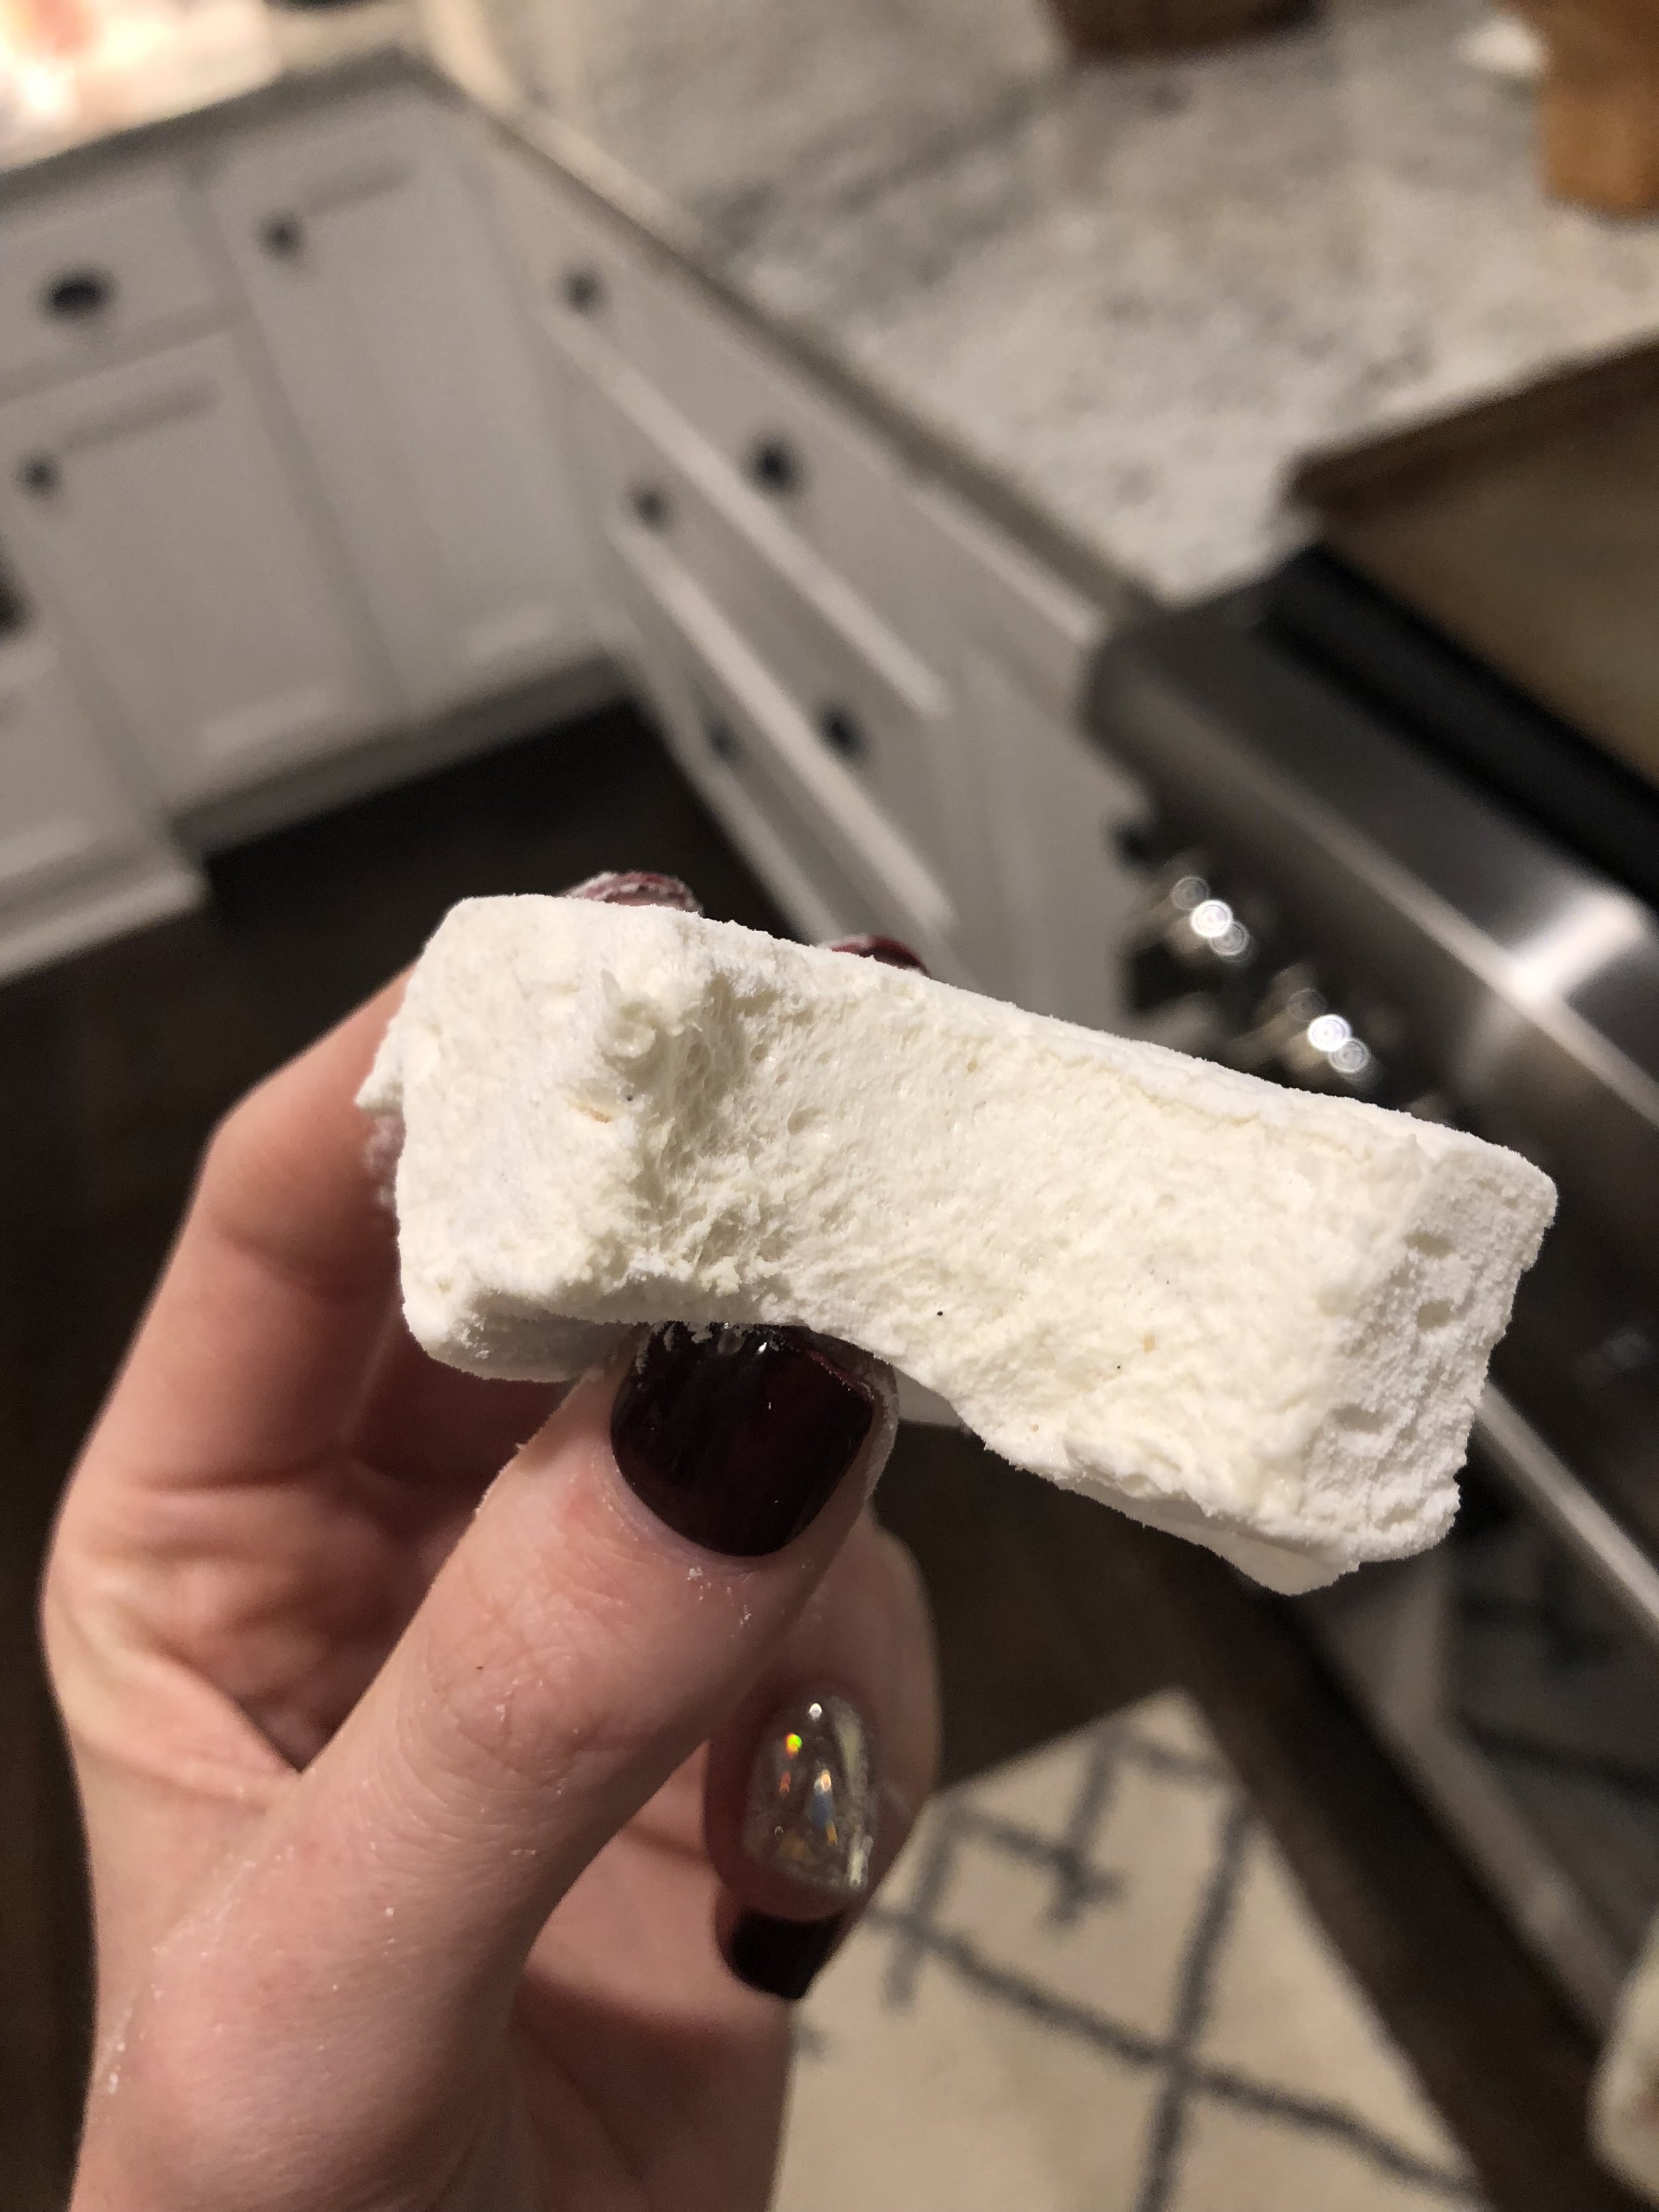
Add in vanilla extract/vanilla bean paste and increase speed to medium/high and beat for 10 minutes; you’ll want to make sure the mixing bowl is not hot anymore and has almost reached room temperature, the mixture should triple in volume, and turn to white

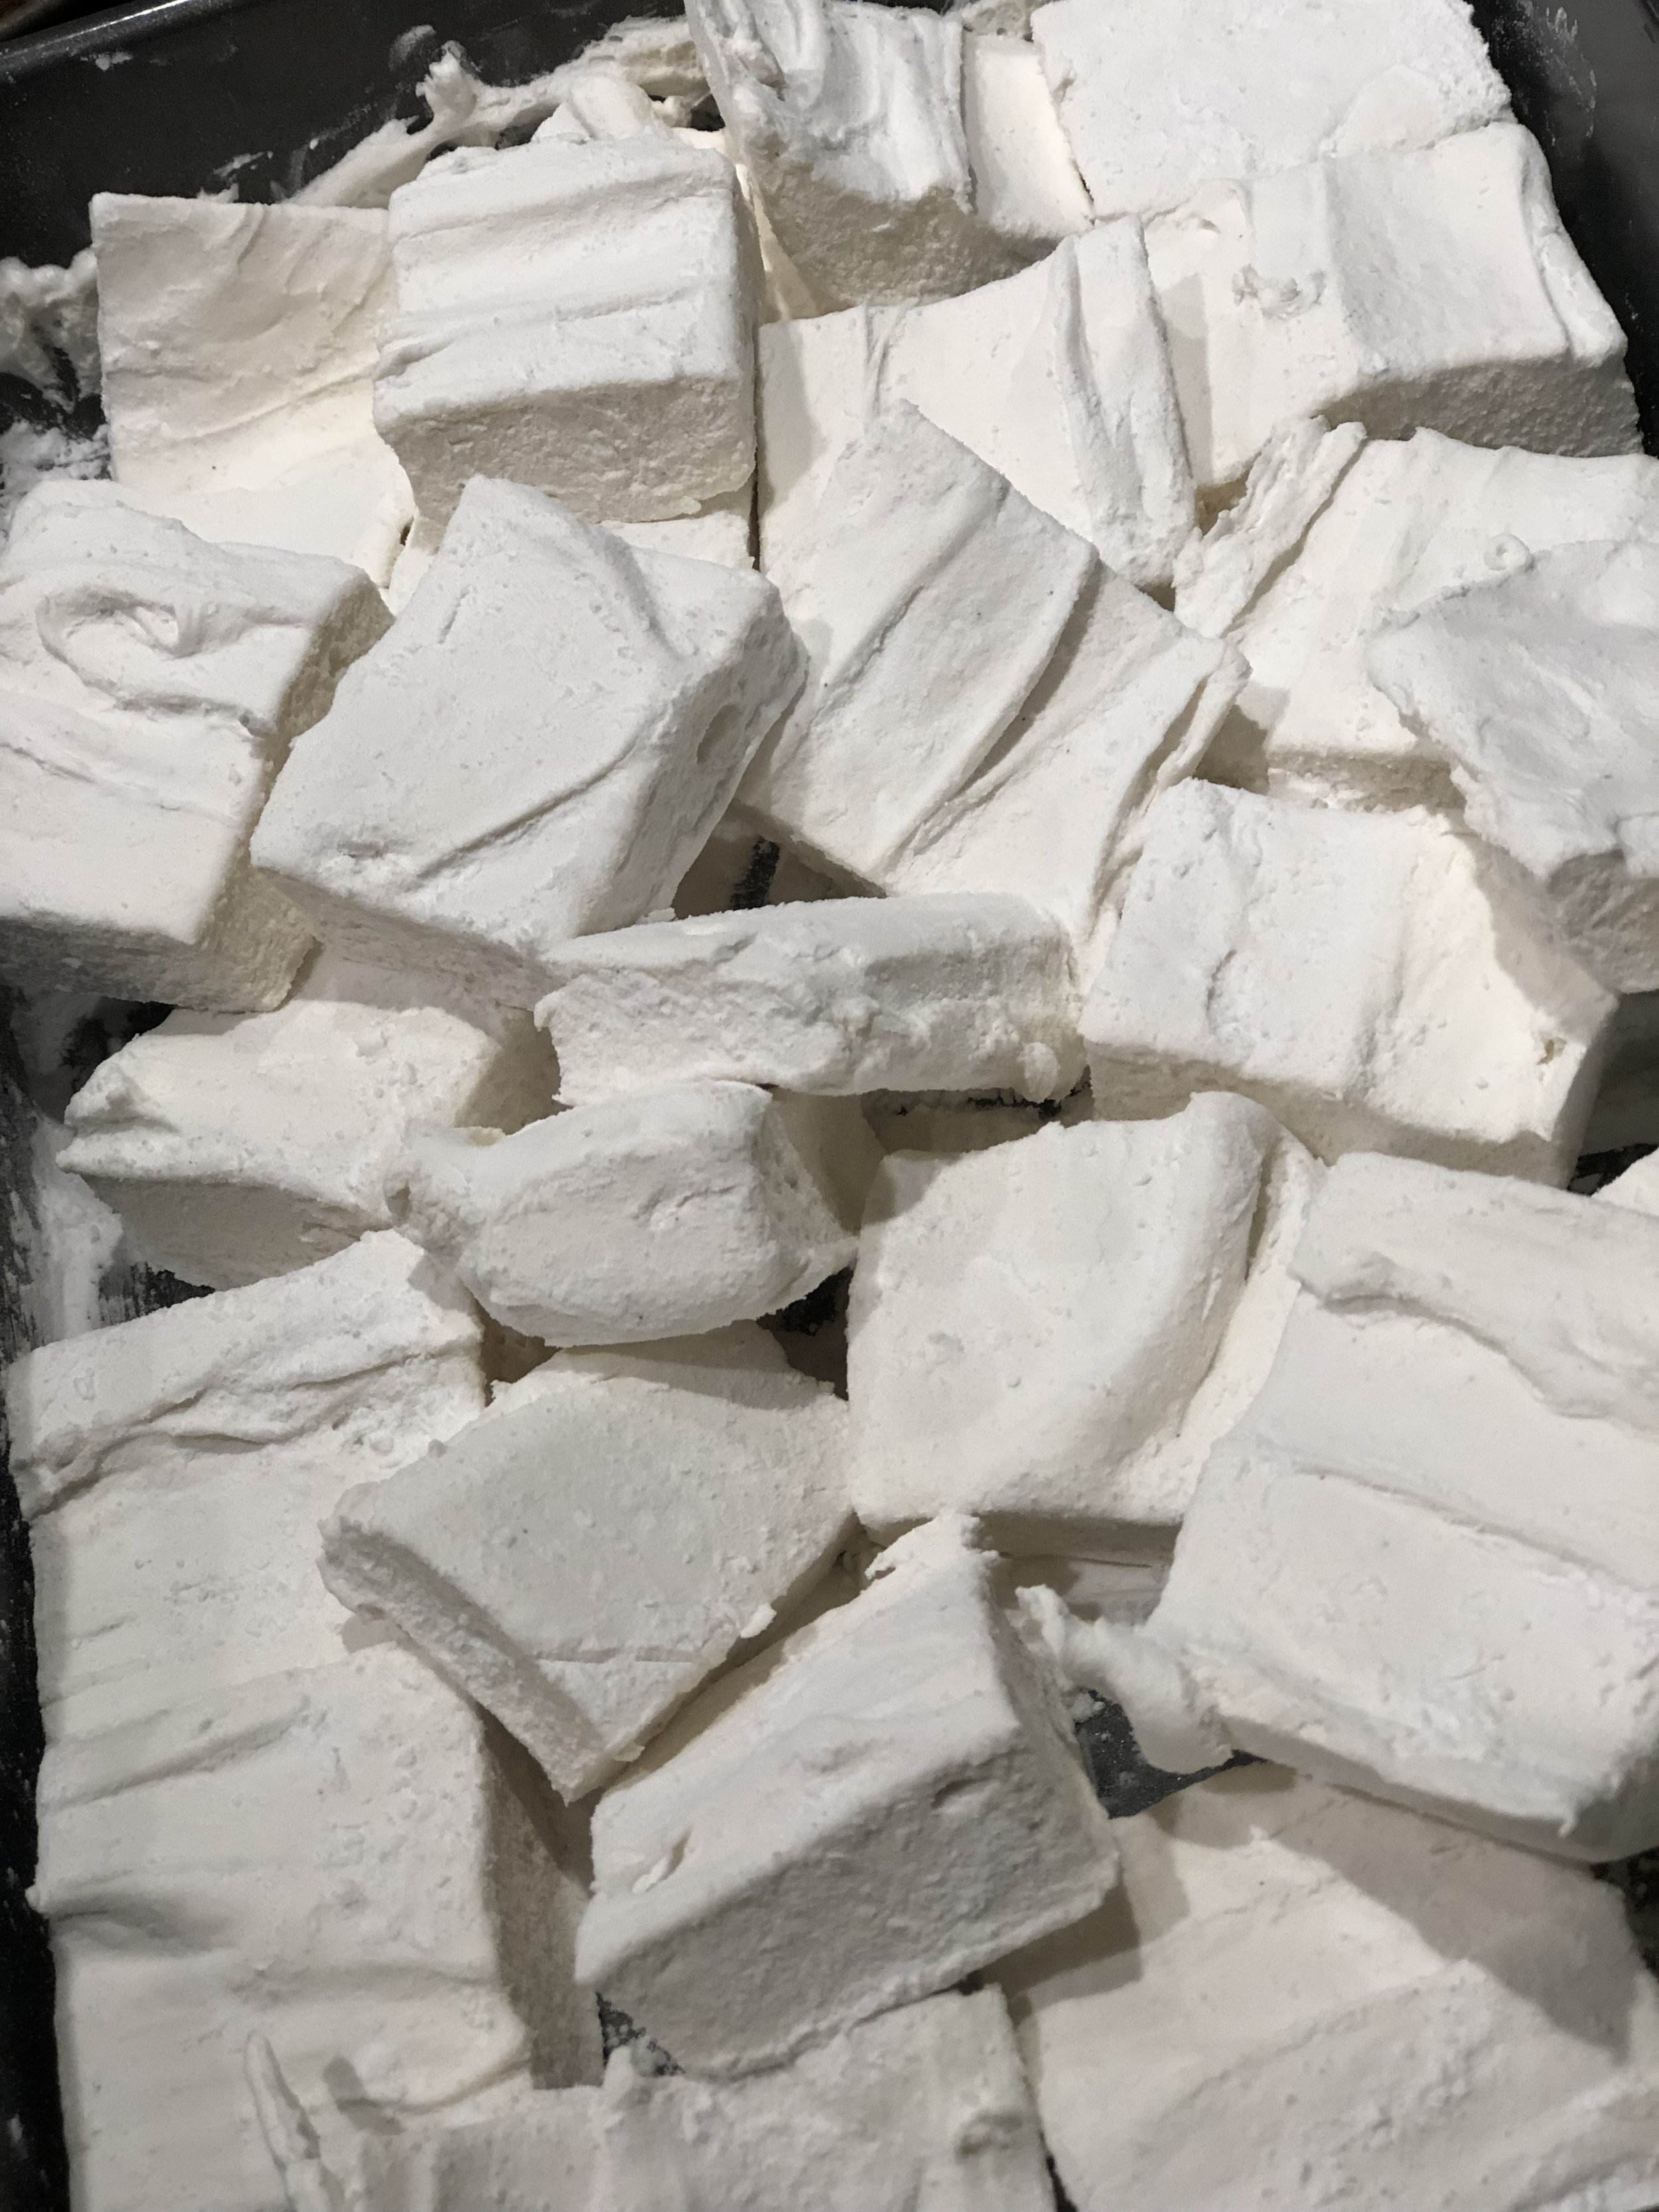
7. Scoop/pour (quickly because the marshmallow may begin to set) marshmallow mixture into your prepared baking pan and smooth the top so that the sheet of marshmallow crème is even and as smooth as it can be
8. Let set for 4-6 hours out at room temperature (no need to cover) before slicing with a butcher knife
9. Once set, sprinkle arrowroot/powdered sugar over the top and rub with your hands to make sure there are no sticky spots left on the surface

10. Turn out onto a cutting board or your countertop and begin slicing into squares
11. Dip each sticky edge of marshmallow in arrowroot/powdered sugar and pat excess powder off
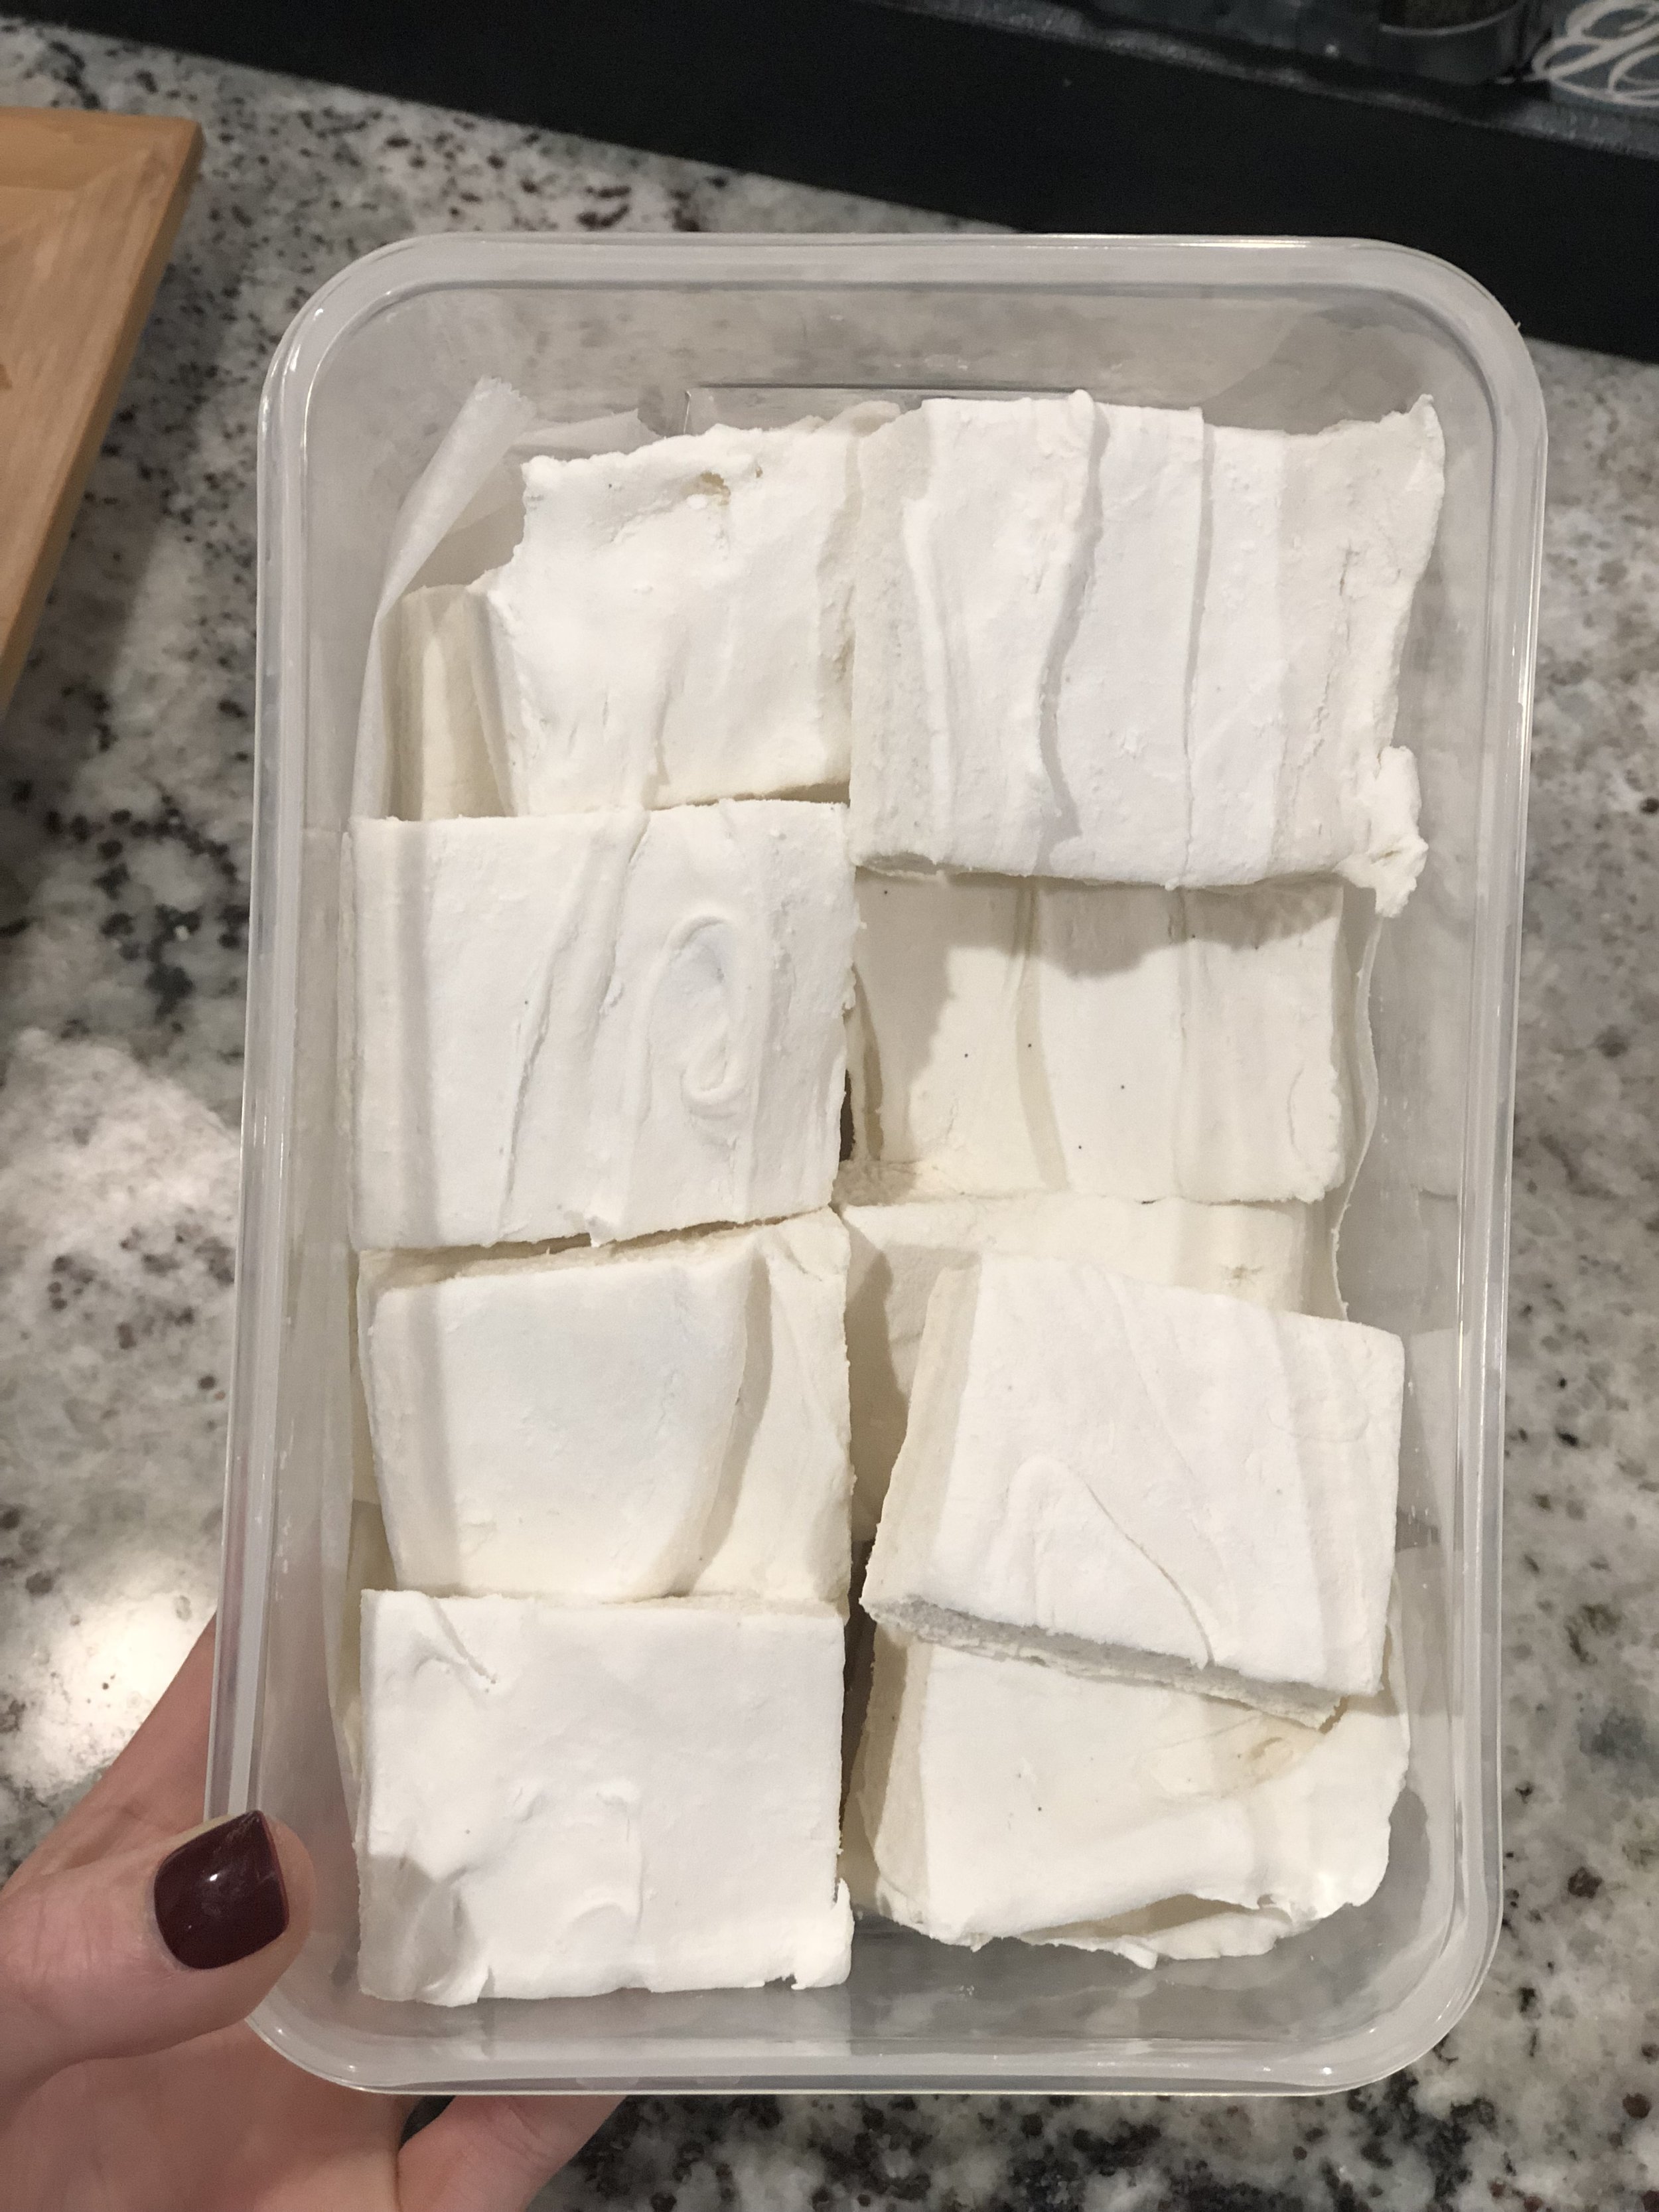
12. Store in an airtight container 🙂
xo, Celiac Sweetie